How to Scan Document Without any Background and Blur in iPhone? When it comes to digitizing important documents, having a reliable method for scanning them is crucial. Fortunately, your iPhone has a built-in feature that makes scanning documents a breeze the iPhone’s Notes app. yeah you herd it right do you wanna know how is it possible to scan documents with your iPhone without any background or blur by using Notes app I’ve got you covered.
In this article i will show you How to Scan Document Without any Background and Blur in iPhone, lets start.
Steps to Scan Document Without any Background and Blur in iPhone?
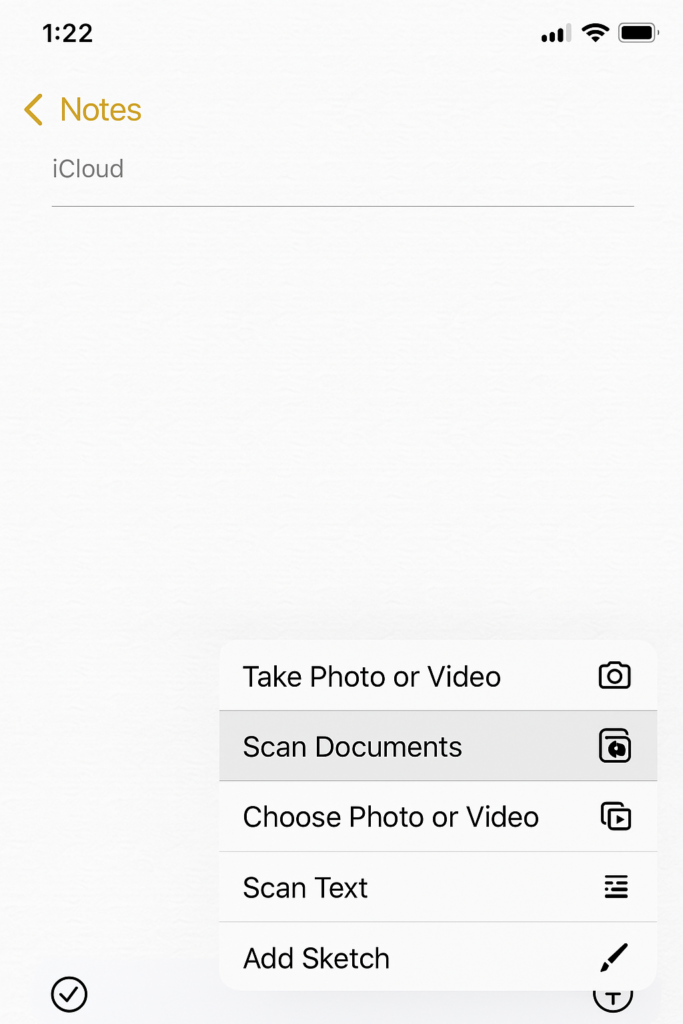
Step 1: Open the Notes app on your iPhone and create a new note. Tap the +(Plus) icon and select Scan Documents. This will launch the camera and you’re ready to start scanning.
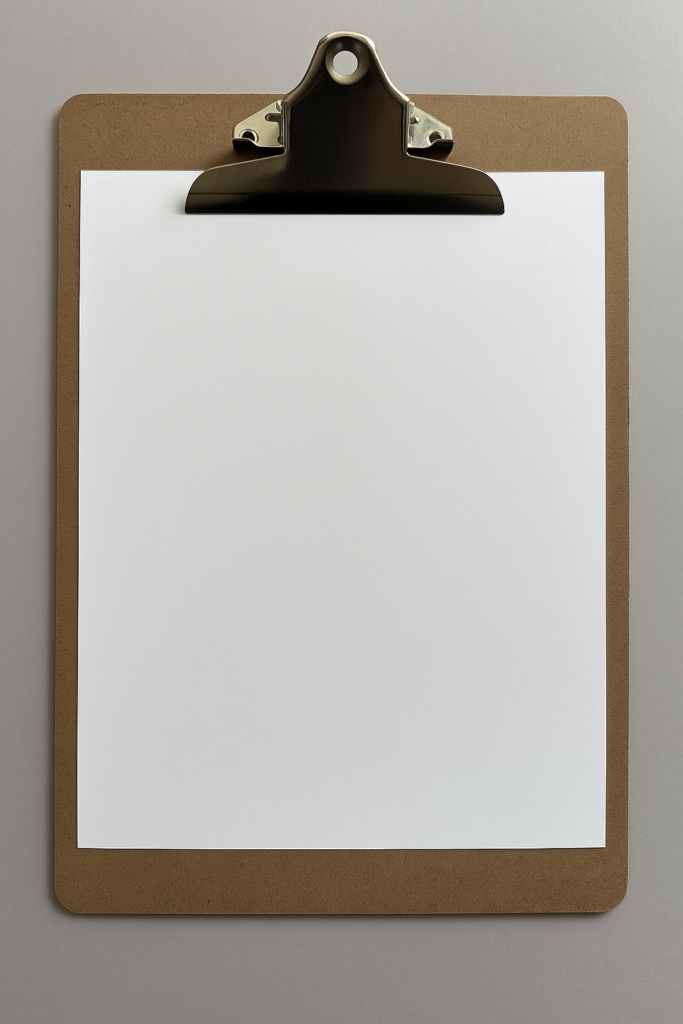
Step 2 : Place your document on a flat surface and make sure it’s straight and even. You can use a document holder or a clipboard to keep it in place.
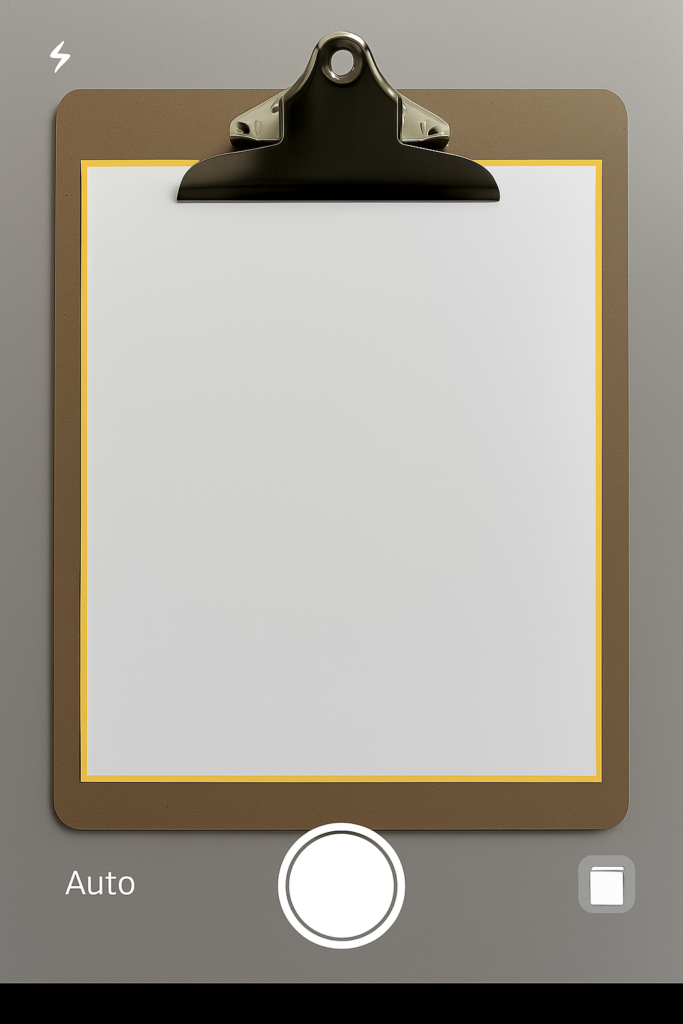
Step 3 : Tap the shutter button to capture the document. You’ll see a yellow frame around the document, which indicates that the scanner has detected the document’s edges.
By following these simple steps, you’ll be scanning documents like a pro in no time. or you can create high quality scans of your documents using iPhone’s Notes App.
Best tips for getting the best Scan Document in iPhone’s note app
- Ensure the area is well-lit, preferably with natural light. Avoid harsh shadows or direct sunlight that can cause glare.
- Place the document on a flat surface to avoid wrinkles and creases.
- Hold the iPhone steady and ensure the document is straight and even. You can use a document holder or a clipboard to keep it in place.
- Scanning in low light conditions can result in poor quality scans. If necessary, use a flash or move to a brighter area.
- Hold the iPhone steady and avoid moving it while scanning. This will help prevent blur and ensure a clear scan.
- Enable Auto Scan in the Notes app to automatically detect the document’s edges and scan it.
- After scanning, adjust the scan settings to enhance the quality. You can select Auto or manually adjust the brightness and contrast.
- Ensure the camera lens is clean and free of smudges or fingerprints.
- Consider using a document holder or a clipboard to keep the document flat and in place.
- Review the scan quality before saving. If necessary, retake the scan or adjust the settings.
Can I edit Scanned Documents on my iPhone, and if so, how?
Editing scanned documents on your iPhone is a convenient feature that allows you to make changes or add annotations to your scans. After scanning a document using the Notes app, you can edit it directly within the app.
To do this, simply tap on the scanned document in the Notes app, and then tap on the Markup icon, which looks like a pen tip. This will open up the Markup tool, which provides a range of editing options. With the Markup tool, you can add text, shapes, and signatures to your scanned document. You can also use the tool to highlight important sections or strike through text that you want to delete.
The Markup tool is intuitive and easy to use, allowing you to make quick and precise edits to your scanned documents. Additionally, you can also use the Magnifier tool to zoom in on specific areas of the document and make more precise edits. Once you’ve made your edits, you can save the changes to the scanned document. The edited document will be saved in the Notes app, and you can access it at any time.
You can also share the edited document with others via email, Messages, or other sharing options. The ability to edit scanned documents on your iPhone makes it a powerful tool for managing and manipulating digital documents, and can help you to streamline your workflow and increase productivity.
Can I use the flash on my iPhone to scan documents in low light conditions?
Yes, you can use the flash on your iPhone to scan documents in low light conditions, but it requires some caution to get the best results. When you use the flash, there’s a risk of overexposing the document, which can lead to a loss of detail and a poor-quality scan. Additionally, the flash can sometimes cause harsh shadows or reflections, especially if the document has a glossy surface.
To minimize these issues, it’s often better to try to find a well-lit area or use a lamp to illuminate the document instead. If you do decide to use the flash, make sure to adjust the scan settings after taking the photo to ensure the best possible quality. This might involve tweaking the brightness and contrast to balance out the lighting and bring out the details in the document. By being mindful of these factors and taking the necessary steps, you can effectively use the flash to scan documents in low light conditions and achieve high-quality results.
To use the flash, simply open the Notes app, start a new scan, tap the flash icon in the top right corner of the screen, and select “On” or “Auto” to enable the flash, then adjust the settings as needed to get the best scan.
How do I save scanned documents to my Files app on my iPhone?
Saving scanned documents to your Files app on your iPhone is a straightforward process that allows you to access and manage your documents easily. After scanning a document using the Notes app, you can save it to the Files app by following a few simple steps.
- First, open the Notes app and select the note that contains the scanned document.
- Then, tap on the scanned document to open it in full screen. Once it’s open, you’ll see a few options at the top of the screen, including the Share icon, which looks like a box with an arrow coming out of it.
- To save the scanned document to the Files app, tap on the Share icon, and then select Save to Files from the options that appear. This will open the Files app and allow you to choose a location to save the document. You can select a folder or create a new one to keep your scanned documents organized.
- Once you’ve chosen a location, tap Save to save the document to the Files app. The scanned document will then be saved as a PDF file, which can be easily accessed and viewed in the Files app. By saving your scanned documents to the Files app, you can easily access and manage them across all your Apple devices, thanks to iCloud integration.
This means that you can scan a document on your iPhone and then access it on your iPad or Mac, without having to transfer files manually. The Files app also allows you to organize your documents into folders and search for specific files, making it easy to find what you need quickly. Overall, saving scanned documents to the Files app is a convenient way to keep your documents organized and accessible, and can help you to streamline your workflow and increase productivity.
Is it possible to scan multiple pages into a single document using the Notes app?
Yes, it is possible to scan multiple pages into a single document using the Notes app on your iPhone. This feature is particularly useful when you need to scan a multi-page document, such as a contract or a report, and want to keep all the pages together in one file. When you scan a document using the Notes app, you can add additional pages to the scan by tapping the +(Plus) icon and taking another scan.
This allows you to scan multiple pages and combine them into a single document. To scan multiple pages into a single document, you can simply continue scanning pages and the Notes app will automatically add them to the same document. You can review the pages you’ve scanned and remove any that are unnecessary or of poor quality. When you’re finished scanning, you can save the document and share it via email or other methods. The Notes app will save the multi-page document as a single PDF file, making it easy to manage and share.
Conclusion:
Scanning documents with your iPhone’s Notes app is a convenient and efficient way to digitize your papers. By following the tips and steps outlined in this article, you can achieve high-quality scans with minimal effort. The Notes app provides a user-friendly interface for managing your documents, allowing you to scan multiple pages, edit scans, and save documents to the Files app.
Whether you’re scanning receipts, contracts, or notes, the Notes app makes it easy to keep your documents organized and accessible. With the Notes app’s scanning feature, you can streamline your document management process and stay productive on the go. You can easily share your scanned documents with others, save them to cloud storage, or access them across all your Apple devices.
By taking advantage of the Notes app’s scanning capabilities, you can reduce clutter, increase efficiency, and make the most of your iPhone’s features. Whether you’re a student, professional, or simply looking to declutter your space, the Notes app’s scanning feature is a valuable resource that can help you achieve your goals.